Vertical rulers are used by editors to draw a visible vertical line for a specified character width. With a vertical line, it tells the line of text to exceed characters.
Rules, for example, allow developers to set the length of code lines using vertical rulers.
Rulers in Visual Studio Code can be turned on or off using settings or a quick shortcut.
Multiple vertical rulers can also be added.
How to add vertical rulers in the Sublime text editor?
Vertical rulers are enabled by the settings menu.
Following are step-by-step for adding a vertical ruler.
Open Sublime text editor( version 2 or 3 )
Go to the
PreferencesMenu->SettingsitemYou should see
Preferences.sublime-settingsopened on the below screen.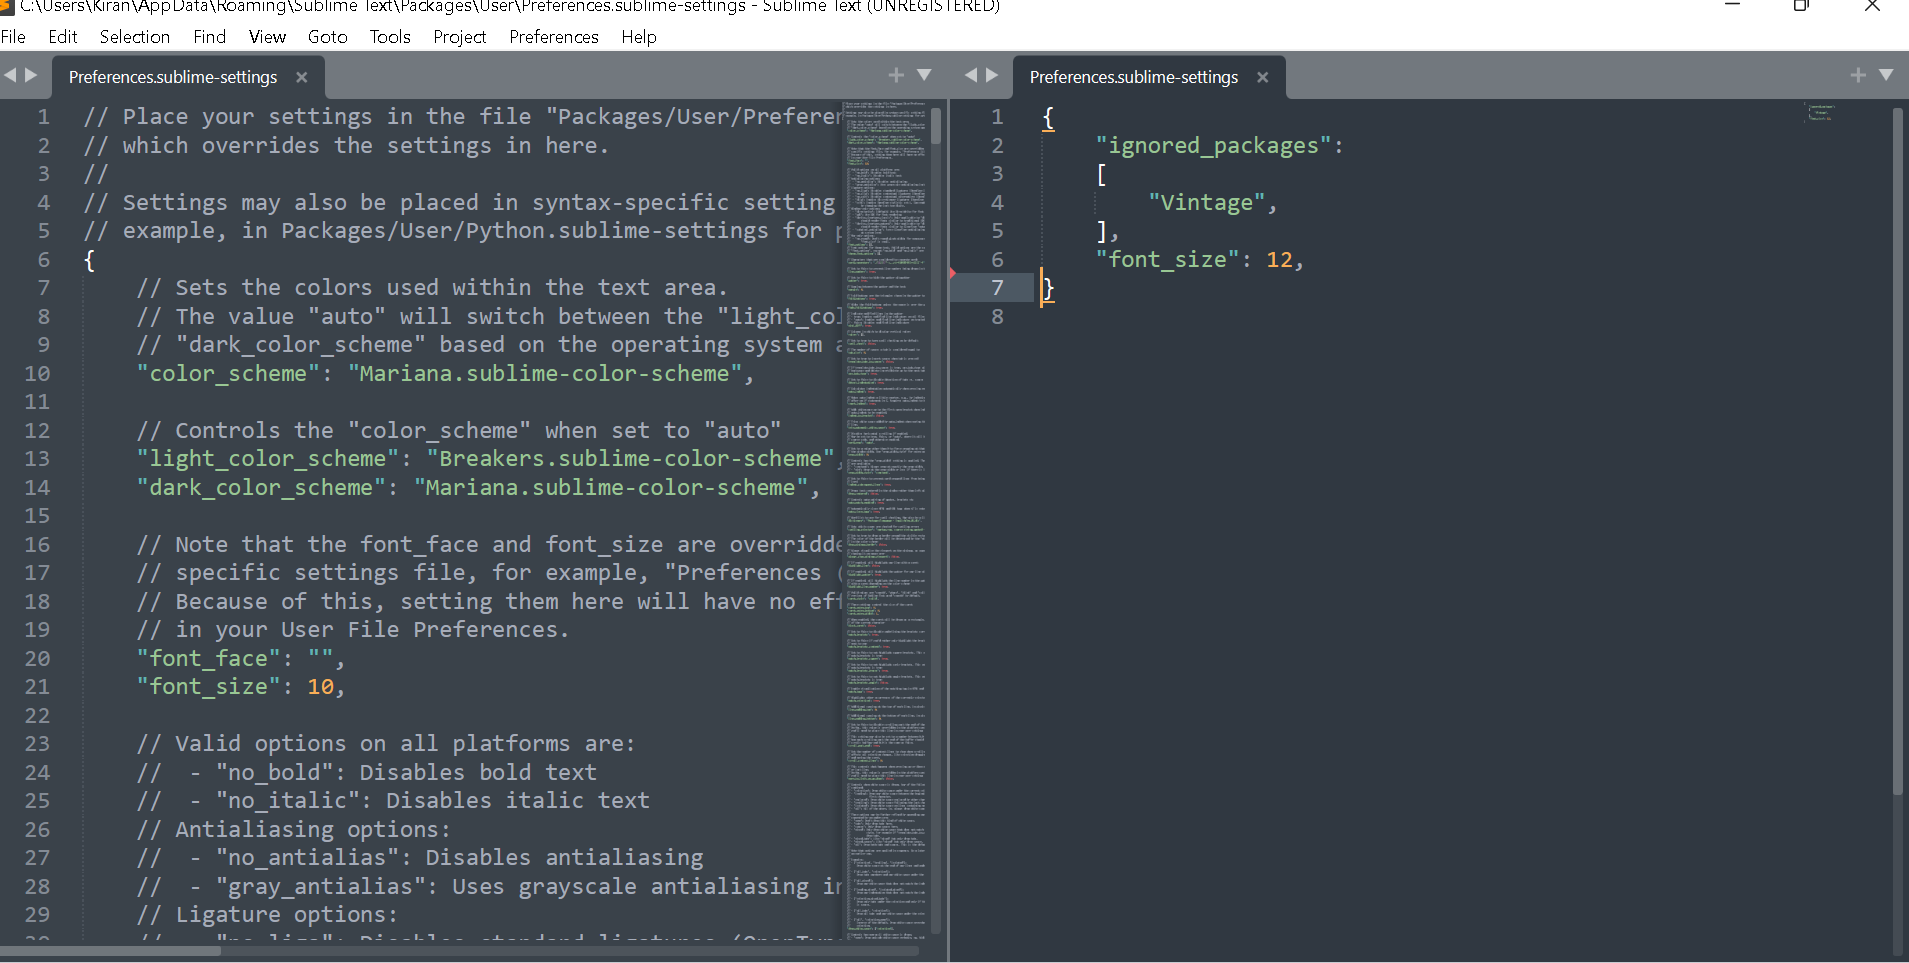

Please add the integer values in the ruler’s array. You can add multiple values separated by a comma.
// Columns in which to display vertical rulers
  "rulers": [30,45],
Here is a complete settings example
{
    "ignored_packages": [
        "Vintage",
    ],
    "font_size": 12,
    "draw_white_space": "all",
    "translate_tabs_to_spaces": "false",
    "color_scheme": "Packages/Color Scheme - Default/Slush & Poppies.tmTheme",
    "show_encoding": true,
    "show_line_endings": true,

// Columns in which to display vertical rulers
    "rulers": [30,45],


}
After vertical rulers are enabled, You can see two vertical rulers with a character length of 30 and 45.

You can also disable vertical rulers by removing rulers from settings.